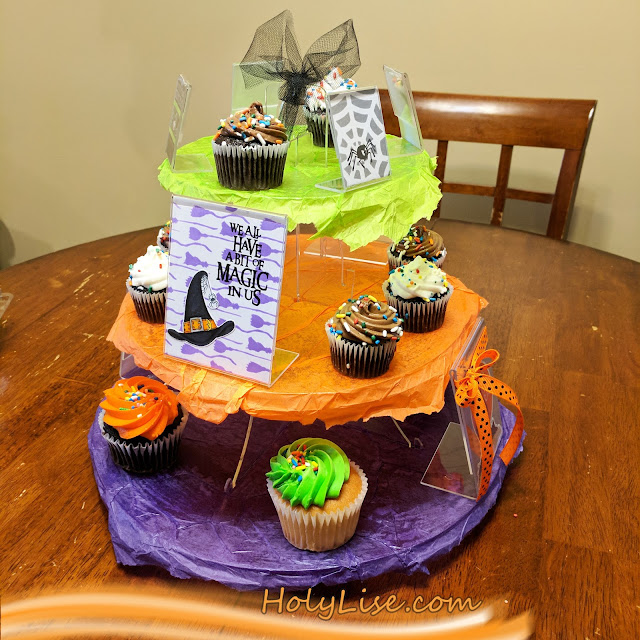
Fall is officially here! This is the time of year that we start thinking about the holidays along with parties, decorating and entertaining. I used Deflecto products for the projects shown below. Read on, and I will tell you how!
For the 3 tier dessert stand; you will need:
Deflecto: 3-Tier Dessert Stand #20201CR; Versa-grip Double-Clip Sign Holder #20008CR
Cardstock: green, orange, gold, yellow
Die-cut Machine & maple leaf die
Inkpads: green, orange, gold, yellow
Wedge Sponges
Adhesives
Instructions:
1. Follow the instructions in the package to assemble the 3-Tier Dessert Stand.
2. Cut 3/8" x 12" strips of green cardstock.
3. Refer to the photos given below. Cut out the leaves in the given size and colors shown.
4. Chalk the edges of the leaves using the inks and sponges.
5. Refer to the row at the bottom of the page and adhere the leaves to the strips of green paper.
6. Adhere to the sides of the dessert stand as shown.
7. Use the double clip sign holder to attach the larger maple leaves to the top of the stand.
For the Witchy-Pooh Character you will need:
Deflecto: Mini Sign Holders: 3" x 4" Sign Holder, one; 1-1/2" x 2", one; Flexible Sign Danglers; 4
Cardstock: Purple, Green, Black, Orange
Die-cut Machine
Dies: circles, pinked edge circle, teardrop, oval
Adhesives
Permanent Black Marker; fine point
Scissors
Paper Trimmer
Instructions:
1. Arms: Refer to the photo below. Cut the paper shapes shown and assemble them as shown on the right. Slide between the panels of the sign holder behind the paper with each side of "arms" extending evenly.
2. Legs: Cut the green paper. Adhere to the sign danglers. Fold the danglers accordion style as shown. The adhesive portions should be facing up. Remove the release paper before adhering to the bottom of the sign holder. Remove the release paper on the opposite end and adhere the shoes.
3. For the hat: Fold the 3" black circle in two. Form the 2-1/2" into a cone and adhere to the top of the 3" brim. Hair: Fold down the top edge of the orange oval (for the bangs). Cut a fringe into the oval for the effect of hair. Cut from each side. Adhere the head to the hair.
4. Finish: Everything will be adhered to the outside of the sign holder except for the 3" x 4" rectangle (body) that goes between the sign holder panels. Use the photo given for a visual guide.
Look below for some more ideas using the mini sign holders and sign danglers. You can do a lot with basic shapes: squares, circles, rectangles, teardrops, etc. The turkey tail feathers are die-cut maple leaves.


 .
. .
.


