Wednesday, February 28, 2018

Rotating Carousel Organizer


Hello, Sue here today! Being a paper crafter at heart, I sometimes wonder…

What’s your favorite way to embellish?
For me it’s flowers, twine, buttons and pearls.


My Rotating Carousel Organizer is a great way to organize my “go to” embellishments. 
And... it looks pretty too.


The Deflecto Rotating Carousel Organizer with Nine Canisters comes with three 6″ bins and six 3″ bins.


It is also available as a Rotating Carousel Organizer with Six 6″ Canisters.
It’s a great way to organize your supplies.

Monday, February 26, 2018

Wedding Countdown Valentines Gift

Hi Everyone! Alexandra here from Hedgehog Hollow again; today I am going to share with you a great idea for not only Valentines Day, but a gift you can create the whole year through with different themes.  When I got married I wanted a pretty countdown board, something truly custom but not only was anything like this hard to come by in England, customized was out the window! So when Deflecto sent me this pretty pink frame and our theme was Valentines day, I just knew this was going to be perfect (although a little late for my big day!). Here's my customized board....

Deflecto & Style Tech provided me with some product to create this project. The opinions I share are solely my own.


So many people get engaged around this time of year, so whether you are the bride to be; or you know someone is going to pop the question, or maybe you've been invited to an engagement party; this really is the perfect item.  You could also do birthday, baby, christmas or any other celebration as a countdown.  You can also get this in a variety of size and colors so its completely adaptable.  I have added links at the bottom of the post.  I also played around with what was best to write on the frame with, I found the Deflecto Chalk Marker was superb!


I cut the vinyl using my Cricut, I love the Style Tech Vinyl, this one has a great icy texture in there for a nice bit of detail; I used a different font on each line for some added interest.  I put a piece of 8.5 X 11" cardstock in the frame and put a small piece of tape in the back just to hold it in place.  That's it! It probably took my less than 30 minutes for design, cut and assemble and it really looks great!


Thanks so much for joining me today, don't forget to pop back to the blog regularly for more ideas from me and the other design team girls!
Happy Stamping!
Alexandra

Friday, February 23, 2018

Valentine's Day Frames With Deflecto

Hello! 

Thanks for stopping by. Today I am back with a Deflecto project, well actually two. :) I altered these frames for Valentine's theme projects and I love the results, it was fast and easy.  Deflecto Craft Frames makes it easy with their clear frames and others to where we can just insert an image and/or embellish the outside of the frame.  Below are just some ideas of what I did. 

On this pink frame, I added the silver foil designs in the corners and on the edges of the frame using my own adhesive and then rubbing the foil I had left. You can see in the picture below what I mean. 

Here is my finished project:


 Next, I decided to create another one with a frame I had received previously from DT package.


Here I used Deflecto - Clear 8x10 Craft Frame
I did the same process but used gold foil instead and different foil transfer designs. 

Below you can find the supplies I used to create these projects:


The hearts are 6" paper doilies I got from my local craft store. 

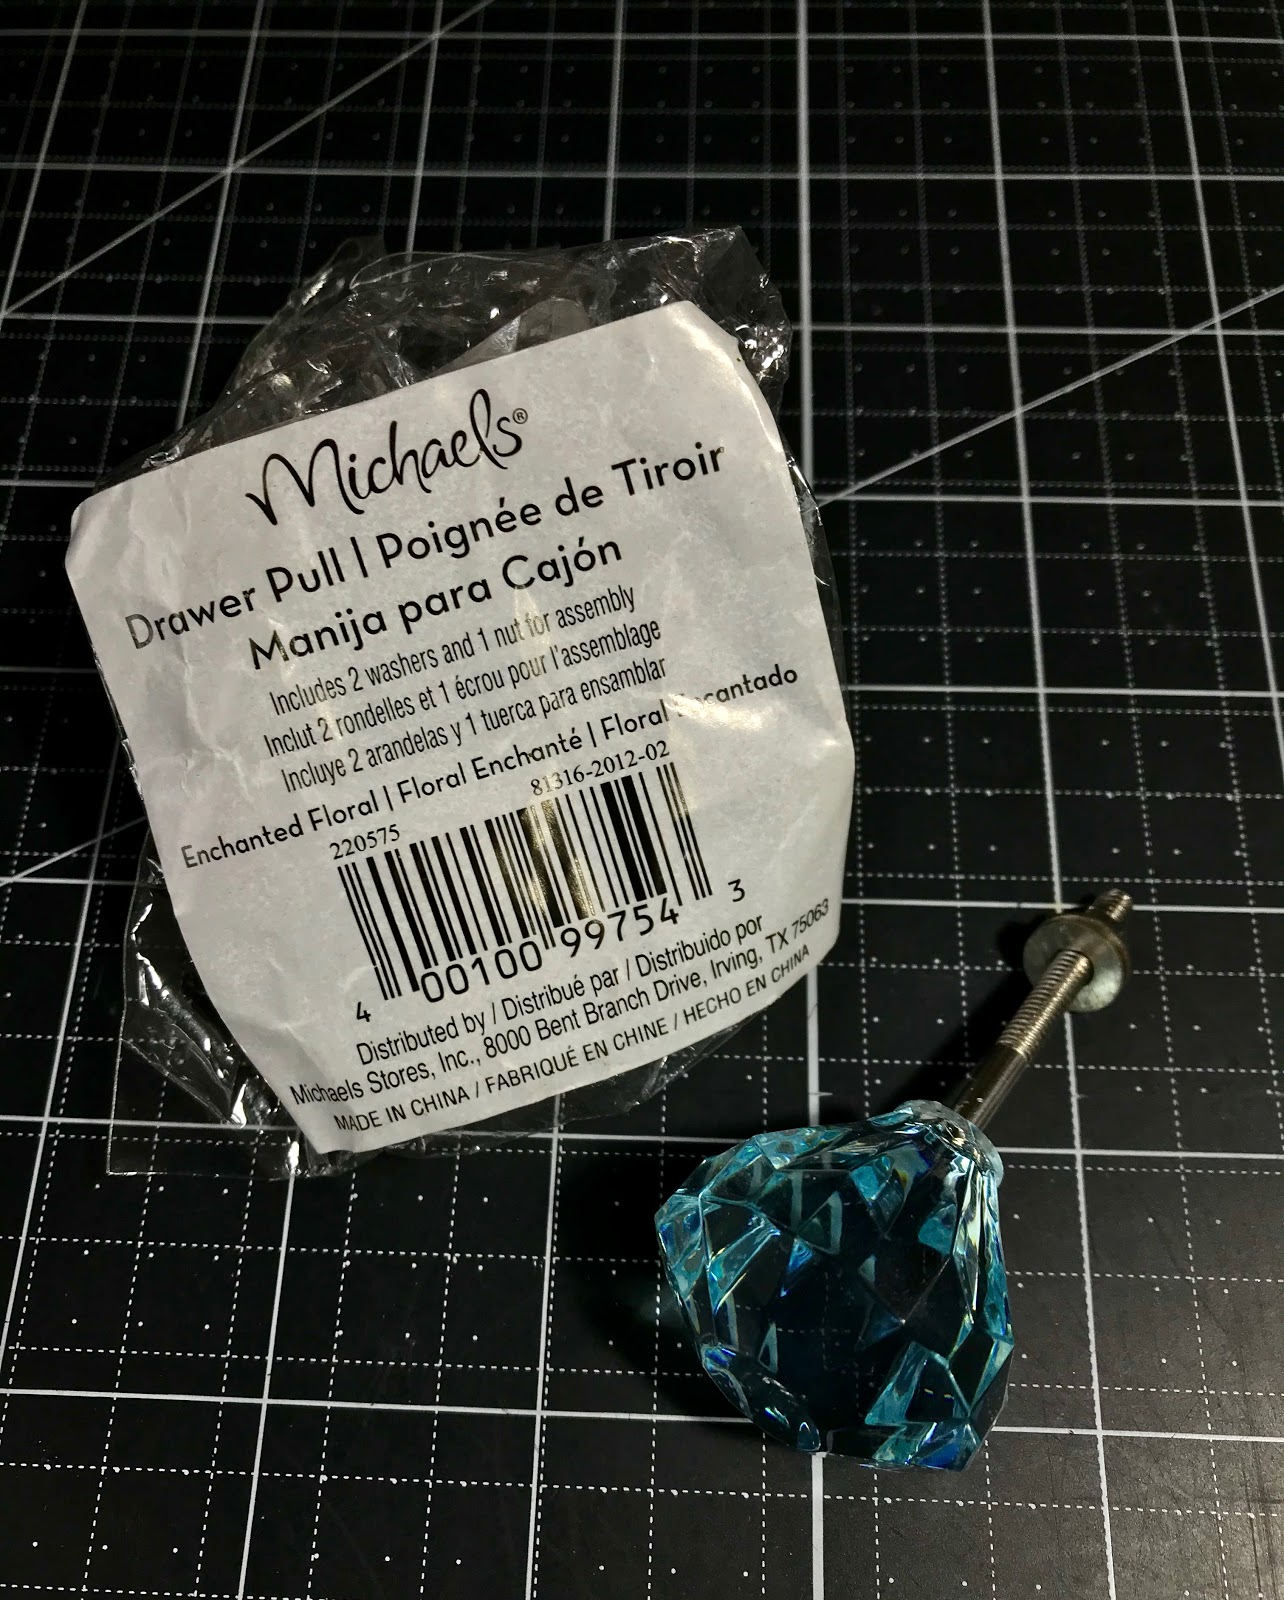
I attached drawer pulls at the top o the frame with E6000 and it held it perfectly to the frame.

This is the Foil Transfer I used and the Gold Foil.


Here is a close-up pic of the silver foil transfers. The foil sets perfectly to the frame. You might want to get transfer designs that have the adhesive incorporated, it makes it so much easier to set.

The glare on the frames does not let the beautiful silver and gold foil show its true colors.  
In person, it is a lot prettier. If you have any questions, I will more than happy to answer.


Thank you so much for stopping by! I hope I've inspired you with some love theme pieces.

You can find these products at Amazon, Scrapbook.com or Target online and sometimes
at Hobby Lobby. Make sure you check for the best prices.

Rosie


Friday, February 16, 2018

Carousel Storage For Every Season!

Deflecto has so many storage options for containing and storing a huge variety of supplies!  I have used my carousels for many different things.  This one I decorated for the space I am placing it in.  I love that I have so many options with all of the beautiful memory papers and embellishments that are available.  Read on and I will show you how I did it!


You will need:

Deflecto:  9-Bin Rotating Carousel Organizer, #3901CR
cardstock:  12" coordinating colors and prints, 6 
wood:  1-1/4" ball knobs; 6; dowels or chopsticks to use as a handle for painting
acrylic paint:  six colors to match patterned papers
paintbrush
paper trimmer
pencil
scissors
adhesives
water bucket
paper towel

Directions:

1.  Cut a 5-1/2" x 12" rectangle using the paper trimmer.  Insert in one 6" tall bin.  Adjust so that the short edges come together in the V of the bin.  Repeat for the other 6" tall bins.

2.  Cut one 2-3/4" x 12" rectangle. Insert in one 3" tall bin as for the 6" tall bin.  Cut a contrasting paper and repeat for another bin.  Repeat for each bin, inserting your chosen patterned paper.


3.  Choose the paints to pair with the patterned papers.  Insert a wooden dowel in one ball knob. I use wooden disposable chopsticks.  Use as a handle and paint the wooden knob.  Place upright to dry.  Repeat for each knob.


4.  Decorate the lid:  Lay one lid top down on the wrong side of the cardstock.  Use the pencil to outline the shape.  Cut out inside the pencil lines and make it fit inside the lid edges. (About 1/4") Adhere to the lid.  Repeat for each of the lids as shown in the photo given below.


5.  Adhere the painted ball knobs to the tops of the bins as shown below.  I used a stronger glue for this step.  Tacky glue will work too.


Isn't this fun?  There are so many design options for decorating these bins.  I am using these for my small wood turnings and shapes.  Let your imagination be your guide!

Take the time to enjoy the small blessings along the way and

Live Life with a Flourish!

Marilyn

Tuesday, February 13, 2018

Organizing A Small Bathroom With Rotating Carousel


When you have a small bathroom, you need to utilize the most of every square inch of your space. By using the rotating carousel with 9 bins, I got our kids’ bathroom organized with plenty of space left for other bathroom necessities.


Materials
·      Deflecto Rotating Carousel with 9 bins
·      Colored Card Stock
·      Banner Die Cut and Die Cutter
·      Xyron 1.5” Sticker Maker
·      Fine Tip Marker


Tutorial
1.     Start by sorting all the hair ties by colors. For my daughter, she has them in every color. I used the small bins to store the different colored hair ties so she can find them to match her outfit for the day.
2.     Use the large bins to store Q-Tips, lotions, band aids, brushes, or any other item that takes up space on the counter.


3.     Each bin will get a label using the banner die cut. I used rainbow colors for the hair ties. Cut out each color of hair tie with the matching color card stock. For the large bins, use white or decorative paper.
4.     Run each banner die cut-out through the Xyron sticker maker.
5.     Adhere each banner to the coordinating bin.
6.     Write what is on each bin label banner.
7.     Set on counter or under sink and enjoy being organized!!


By using the rotating carousel either on the counter or under the sink, you are gaining much more space as the smaller bins stack and the larger bins hold a lot of supplies! Plus, it’s always fun to spin.

Friday, February 9, 2018

Celebrate Love with Deflecto

The month in which we celebrate "LOVE" is here.
I think this pink frame is a stand-out for the month of February.  It is perfect for Breast Cancer Prevention signage, but also for framing pictures and signs that pertain to Valentine's Day!


You will need:

Deflecto:  8-1/2" x 11" pink frame #69771
cardstock:  Valentine themes with contrasting colors:  12 x 12" red, beige and off white with red print
cardstock die-cut:  2-1/2" red heart, 2" red print
photo:  4" x 6"
paper trimmer
adhesives
punches or die-cut machine (for hearts)


Directions:

1.  Cut the papers as shown in the photo above.

2.  Layer the photo over the larger rectangle and adhere.

3.  Lay-out the page as shown and adhere.

4.  Place the page between the panels of the frame. 


  Enjoy & celebrate the month of love!  

Marilyn


Tuesday, February 6, 2018

Valentine's Day Craft Frame Insert

Hi everyone, it's Josefine, and I'm super happy to be guest designing for Deflecto again. February's topic is Valentine's Day, and I created a very pink insert for the Craft Frame in pink.


I started by preparing my mixed media paper with white Gesso. I was messy on purpose to create the first layer of texture. My idea was to have color spreading away from a heart shape in the middle of the paper. So I outlined the heart shape that I cut out later. I added more texture using different types of tape. Then I added a few color sprays and acrylic paints and spread them in all directions.


When I was done, I let it dry overnight. The next day I cut out the heart and aligned some negatives behind the heart. I found those in an Antique shop. They are all images from Rome, one of my favorite cities. I also added a little more dimension to the image by water coloring with a black Faber Castell Gelato around the border of the heart.

After I was done, I put the insert into the pink Craft Frame. Because the negatives are perfect to add some light to it, I put a candle behind the frame. You could also use a string light or one of these flickering LED lights. You can also see my process in this video:


I hope you enjoyed my Valentine's Day insert and feel inspired to create your own love-themed piece.


Come back later to see more Valentine's Day projects from the Design Team. Josefine

Related Posts Plugin for WordPress, Blogger...